Bake Flawless Chocolate Vanilla Pinwheel Cookies with Our Tips
There’s something truly magical about a cookie that not only tastes incredible but also looks like a work of art. Enter chocolate vanilla pinwheel cookies – those charming, visually striking treats that marry the classic, comforting flavors of rich chocolate and sweet vanilla in a mesmerizing swirl. Often appearing on holiday tables and at festive gatherings, these cookies might seem intricate, but we're here to reveal just how surprisingly simple they are to master.
From their elegant appearance to their delightfully tender texture, chocolate vanilla pinwheel cookies are a crowd-pleaser for all ages. Whether you’re a seasoned baker looking to perfect your technique or a beginner eager to impress, this comprehensive guide will walk you through every step, ensuring your pinwheel cookies emerge from the oven looking and tasting absolutely flawless. Prepare to unlock the secrets to achieving those picture-perfect swirls and an unforgettable buttery, chocolatey flavor!
The Allure of Chocolate Vanilla Pinwheel Cookies
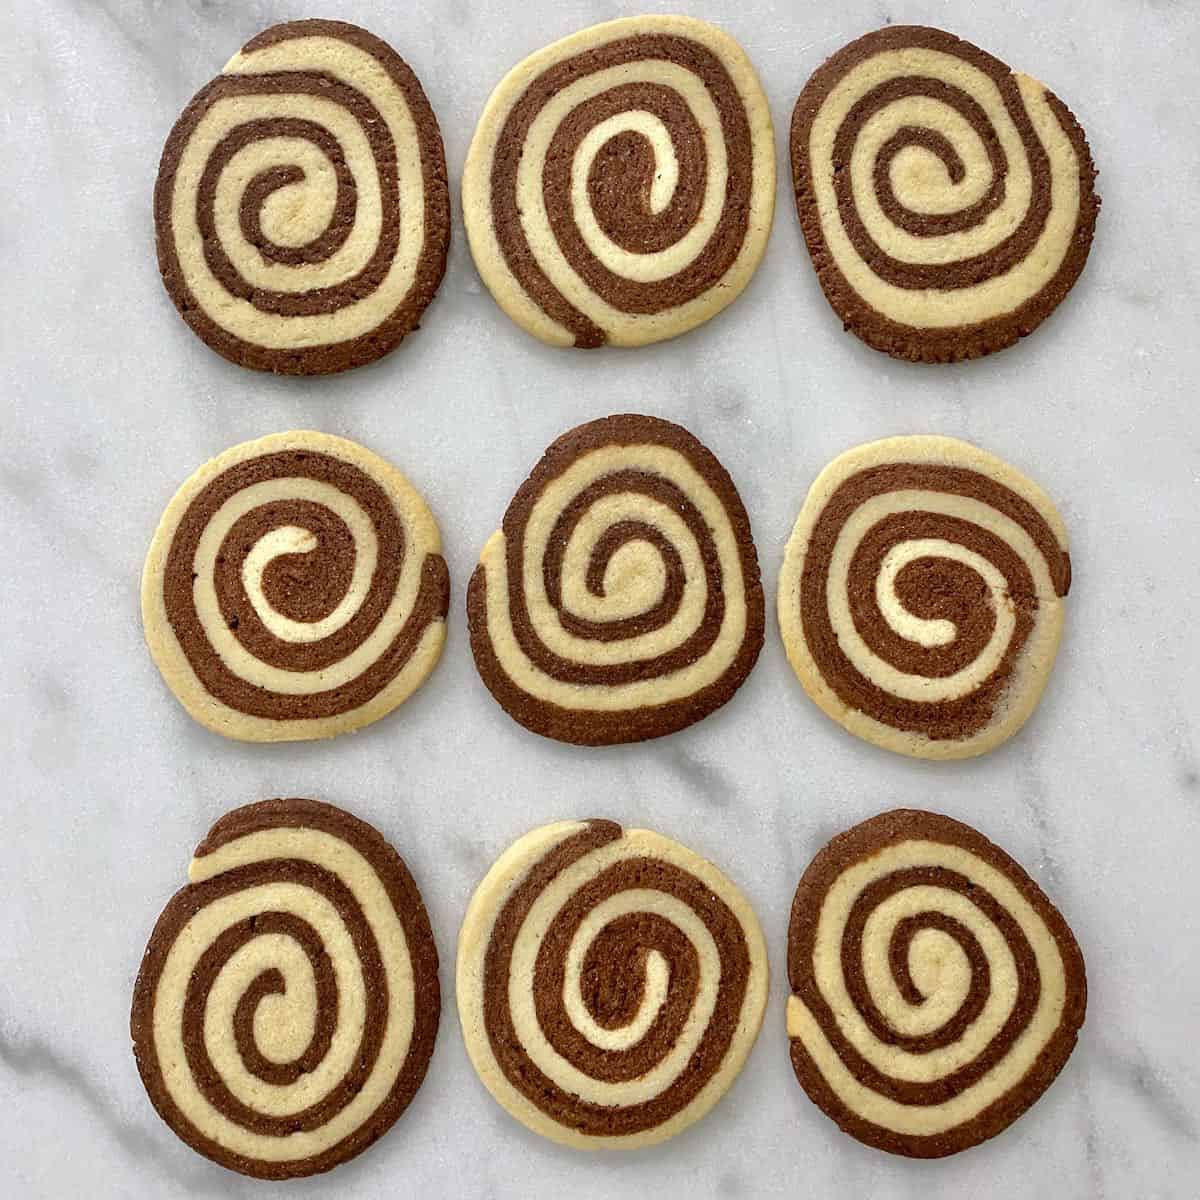
What makes these cookies so captivating? It’s a combination of their stunning aesthetic and the harmonious blend of flavors. The striking contrast between the dark chocolate and creamy vanilla dough, expertly swirled together, creates a festive and inviting look that’s especially beloved during the holiday season. They're often called chocolate vanilla swirl cookies for good reason!
Beyond their beauty, these cookies offer a delightful textural experience. A good pinwheel cookie is tender, slightly crisp at the edges, and melts in your mouth, delivering both chocolate and vanilla notes with every bite. The perceived complexity of their appearance often belies their straightforward preparation, making them a fantastic recipe for bakers of all skill levels. With a little patience and attention to detail, you can easily create bakery-worthy treats right in your own kitchen.
Essential Ingredients for Your Pinwheel Masterpiece
Crafting perfect chocolate vanilla pinwheel cookies begins with understanding the role of each ingredient. While simple, their quality and preparation can significantly impact the final outcome. You’ll find most of these staples already in your pantry!
- All-Purpose Flour: This forms the essential structure of your cookies. Its gluten content provides the necessary chewiness and holds the shape, ensuring your pinwheels don’t spread excessively. While we recommend all-purpose for consistent results, experienced bakers might experiment with pastry flour for a more tender crumb, though adjustments would likely be needed.
- Granulated Sugar: Beyond sweetness, sugar plays a vital role in texture, contributing to the slight crispness of the cookies' edges and helping them spread just enough.
- Unsalted Butter (Room Temperature): This is perhaps the most crucial ingredient. Softened butter (not melted, not cold!) creams beautifully with sugar, incorporating air that leads to a light, tender texture. Cold butter won't blend properly, resulting in a dense cookie, while melted butter makes the dough too soft and greasy to handle.
- Egg Yolk: Adding richness, flavor, and a beautiful golden hue, the egg yolk also acts as a binder, helping to hold the dough together and contributing to its tender chewiness.
- Milk: A touch of milk adds essential moisture to the dough, making it pliable and easy to work with during the rolling and shaping stages.
- Vanilla Extract: For the signature warm, sweet flavor that defines the vanilla portion and beautifully complements the chocolate. Opt for a good quality pure vanilla extract for the best flavor.
- Baking Powder: A small amount of baking powder provides a gentle lift, contributing to a slightly soft and airy texture without making the cookies cakey.
- Unsweetened Cocoa Powder: The star of the chocolate layer! For a truly rich chocolate flavor and deep color, choose a high-quality cocoa powder. We recommend natural cocoa powder for its classic chocolate taste, though Dutch-processed cocoa can also be used for a darker color and milder flavor. Remember to mix it with a tablespoon of milk and a tablespoon of melted butter to create a smooth paste before incorporating it into the dough; this prevents a gritty texture.
Ingredient Quality Matters
While the list of ingredients is humble, the quality of each element can truly elevate your chocolate vanilla pinwheel cookies. Opt for good quality butter, a reputable brand of cocoa, and pure vanilla extract for the most impactful flavors. Fresh baking powder also ensures your cookies rise correctly.
Step-by-Step Guide to Crafting Your Pinwheel Masterpiece
Follow these detailed instructions to create stunning chocolate vanilla pinwheel cookies with perfect swirls every time.
-
Prepare the Dough Base
In a spacious mixing bowl, combine your room temperature softened butter and granulated sugar. Cream them together with an electric mixer on medium speed until the mixture is visibly lightened in color and fluffy. This can take 2-3 minutes. Next, beat in the egg yolk, milk, and vanilla extract until everything is well-combined and smooth. In a separate bowl, whisk together your all-purpose flour and baking powder. Gradually add the dry ingredients to the wet mixture, mixing on low speed until a soft, cohesive dough forms. Be careful not to overmix, which can lead to tough cookies.
-
Divide and Conquer: Vanilla and Chocolate Layers
Carefully divide your freshly made dough into two equal portions. Leave one portion as is – this will be your luscious vanilla layer. For the second portion, add your prepared cocoa powder mixture (cocoa powder, 1 tablespoon milk, and 1 tablespoon melted butter). Knead it thoroughly into the dough until the cocoa is evenly distributed and the dough has a uniform dark chocolate color. This might require a few minutes of hand-kneading to ensure no streaks remain.
-
Roll Out to Perfection
On a lightly floured surface or between two sheets of parchment paper, roll out the vanilla dough into a rectangle, aiming for a thickness of about 1/8 to 1/4 inch. The exact dimensions aren't critical at this stage, but strive for consistent thickness. Repeat this process with the chocolate dough, trying to make it roughly the same size and thickness as your vanilla rectangle. Uniformity here is key for even layers and a symmetrical swirl.
-
Layer, Roll, and Chill for the Swirl
Carefully transfer the chocolate dough rectangle and place it directly on top of the vanilla dough rectangle. Gently press them together to remove any air pockets and ensure they adhere well. Now, starting from one of the longer edges, tightly roll the layered dough into a log shape. The tighter you roll, the more distinct and beautiful your pinwheel swirls will be. Once rolled, wrap the dough log tightly in plastic wrap, ensuring it's sealed completely. This crucial step prevents the dough from drying out and helps it maintain its shape. Place the wrapped dough log in the freezer for at least 30 minutes, or up to an hour, to firm up. Chilling makes the dough much easier to slice neatly without distorting the pinwheel pattern.
-
Slice and Prepare for Baking
Preheat your oven to 325°F (160°C). Line a baking sheet with parchment paper to prevent sticking and ensure even baking. Remove the chilled dough log from the freezer. Using a sharp knife, slice the dough into uniform 1/4-inch thick rounds. Aim for even slices to ensure all cookies bake at the same rate. Arrange the sliced cookies on your prepared baking sheet, leaving a little space between each to allow for slight spreading.
-
Bake to Golden Perfection
Bake your Easy Chocolate Vanilla Pinwheel Cookies for 15-20 minutes, or until the edges are just slightly golden brown. The vanilla parts might turn a very light golden, but the chocolate sections will remain dark. Avoid overbaking, as this can lead to dry, crumbly cookies. Once baked, allow the cookies to cool on the baking sheet for a few minutes to firm up before carefully transferring them to a wire rack to cool completely. This prevents them from breaking and ensures they retain their crispness.
Advanced Tips & Troubleshooting for Flawless Swirls
Achieving truly flawless chocolate vanilla pinwheel cookies involves a few key techniques and an understanding of common pitfalls. Here are our insights to elevate your baking:
Mastering the Dough Consistency
- The Art of Room Temperature Butter: We can't stress this enough! Butter that's too cold won't cream properly, leading to a lumpy dough. Butter that's too soft or even melted will make the dough greasy and difficult to handle, causing your cookies to spread excessively in the oven. Aim for butter that gives slightly when pressed but still holds its shape.
- Don't Overmix the Flour: Once you add the flour, mix only until just combined. Overmixing develops the gluten too much, resulting in tough, chewy cookies instead of the desired tender crumb.
- Hydration Balance: If your dough feels too sticky to roll, dust your surface and rolling pin with a *very* light layer of flour. If it's too crumbly, try kneading it a little longer by hand; the warmth of your hands can help bring it together. If still dry, add a tiny bit more milk, a half teaspoon at a time.
Perfecting the Swirl
- Uniform Dough Rectangles: The cleaner and more uniform your vanilla and chocolate dough rectangles are, the more symmetrical and appealing your pinwheel swirls will be. Use a ruler and a pizza cutter for precision if desired.
- Tight Rolling is Key: When rolling your layered dough into a log, ensure it's as tight as possible. Loose rolling will result in a messy, less defined swirl. Apply gentle, even pressure as you roll, working your way across the entire log.
- Chill, Chill, Chill: This is the secret weapon for crisp, clean swirls and preventing spread. A well-chilled dough log is firm, making it easy to slice without squishing the intricate design. Aim for at least 30 minutes in the freezer, or up to 1-2 hours in the refrigerator. If you're preparing these for the holidays, remember that Charming Chocolate Vanilla Swirls often benefit from an overnight chill.
- Sharp Knife for Clean Slices: A dull knife will drag and distort your pinwheels. Use a very sharp, thin-bladed knife, and apply firm, even pressure to slice through the chilled dough cleanly.
Troubleshooting Common Issues
- Cookies Spreading Too Much: This usually points to butter being too soft, dough not being chilled enough, or too much leavening. Ensure your butter is perfect room temp, thoroughly chill your dough, and measure baking powder accurately.
- Swirls Not Distinct: This is often due to loose rolling, insufficient chilling, or doughs not being pressed together firmly enough before rolling.
- Uneven Baking: If some cookies are darker than others, your oven might have hot spots. Consider rotating your baking sheet halfway through the baking time. Ensure your cookie slices are also uniform in thickness.
These chocolate vanilla pinwheel cookies are not just a treat for the taste buds, but also a joy to behold. Their charming design makes them perfect for any occasion, from casual gatherings to elegant holiday parties.
By following these detailed instructions and incorporating our expert tips, you’re now equipped to bake magnificent chocolate vanilla pinwheel cookies that are sure to impress everyone who tastes them. Don't be intimidated by their intricate appearance; with a little practice, you'll be creating bakery-quality swirls in no time. Enjoy the process, savor the aroma filling your kitchen, and delight in sharing these beautiful, delicious treats with loved ones!
