Why These Easy Chocolate Vanilla Pinwheel Cookies Are Your Next Baking Obsession
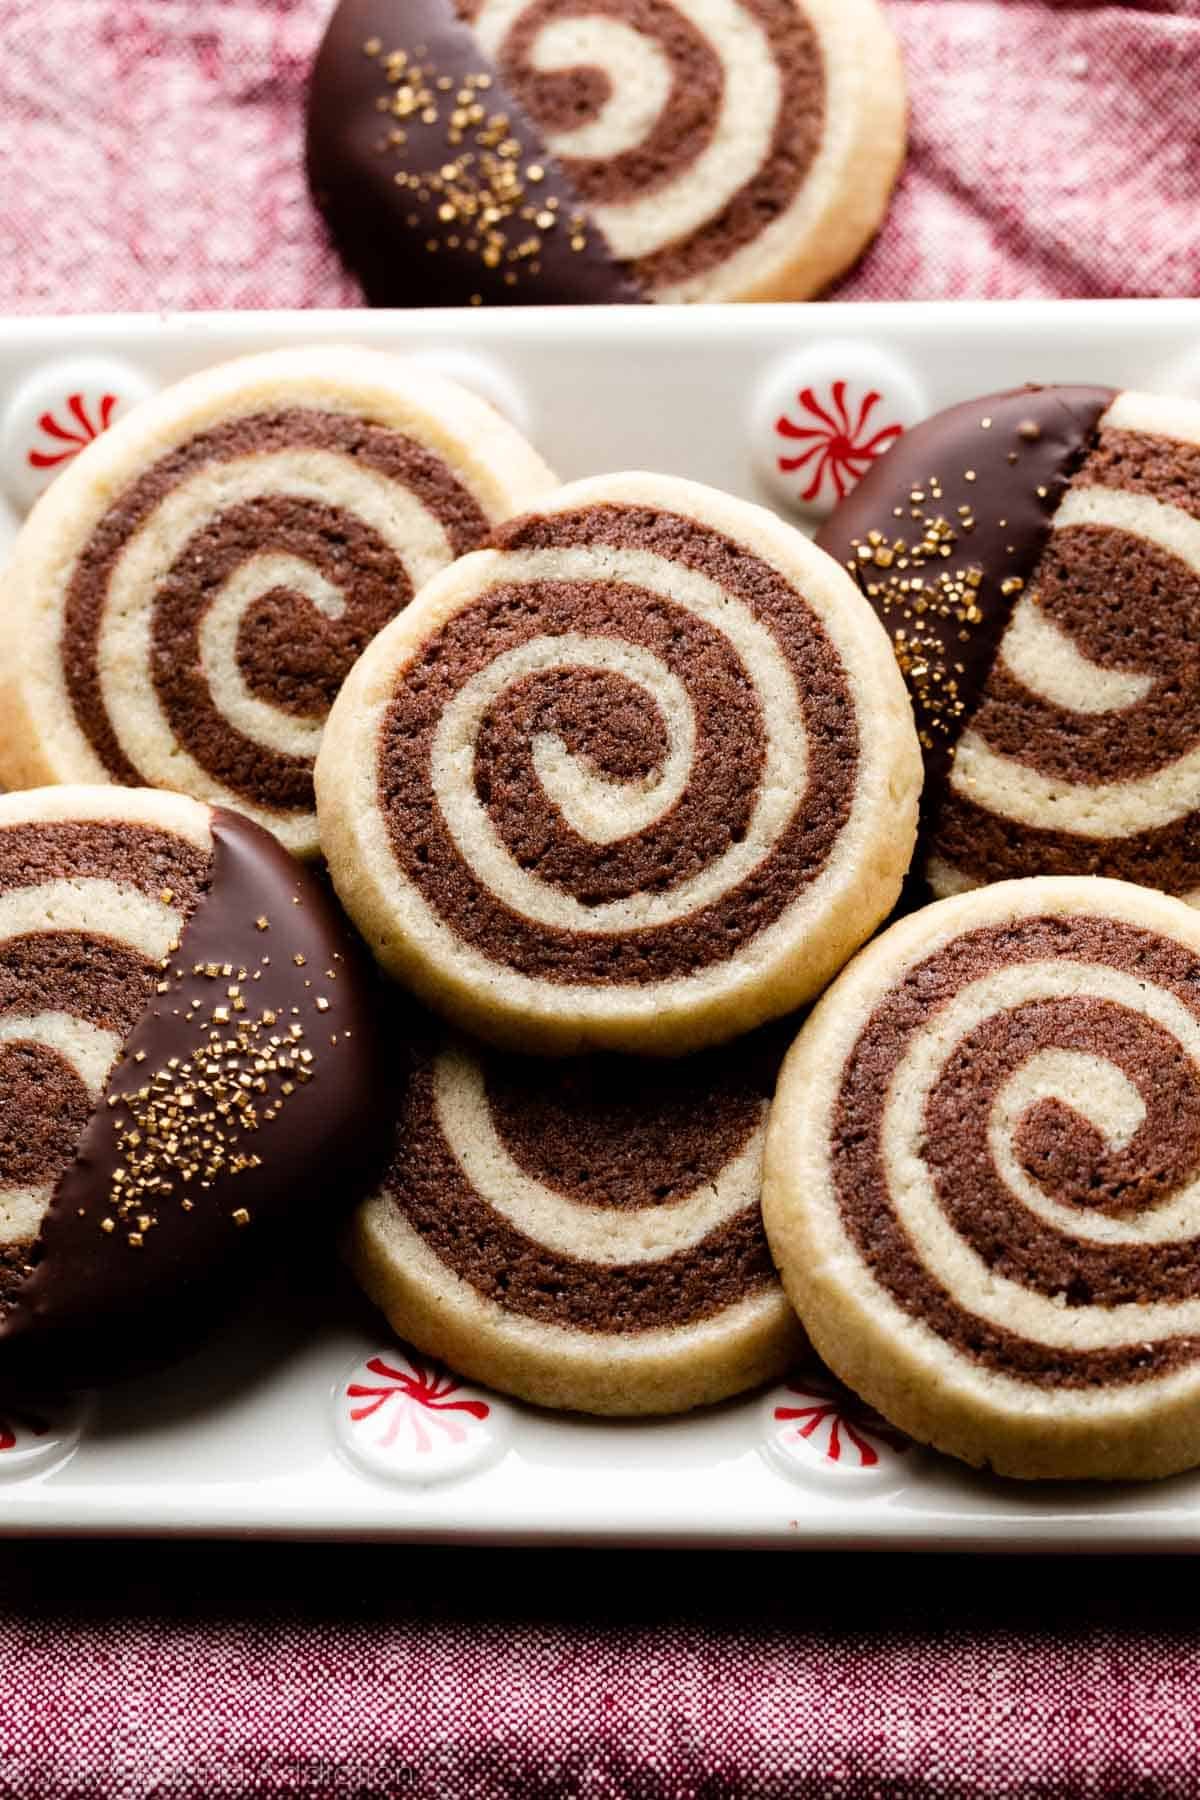
Imagine a cookie that looks like it stepped right out of a high-end bakery display, yet is surprisingly simple to create in your own kitchen. That's the magic of
easy chocolate vanilla pinwheel cookies! These delightful treats, often known as chocolate vanilla swirl cookies, are a testament to how beautiful and delicious homemade baking can be. Their striking spiral of rich chocolate and creamy vanilla dough is not just a feast for the eyes but also a symphony of flavors that delights with every bite.
Perfect for special occasions, holiday cookie exchanges, or simply a cozy afternoon treat, these pinwheel cookies bring a touch of elegance without requiring expert baking skills. Many home bakers, myself included, have found them to be an approachable and rewarding recipe since their early baking days. The simple joy of watching the distinctive swirl emerge as you slice the chilled dough is truly satisfying. If you're looking to impress guests or simply treat yourself to something extraordinary yet straightforward, then our
Charming Chocolate Vanilla Swirls: Your Holiday Cookie Guide is exactly what you need to dive into this delightful baking adventure.
Mastering the Swirl: Key Ingredients for Perfect Pinwheel Cookies
The secret to exquisite
chocolate vanilla pinwheel cookies lies in a handful of common ingredients and the care with which they're handled. You likely have most of these staples in your pantry already, making this recipe incredibly accessible.
*
All-Purpose Flour: This forms the essential structure of our cookies. While adventurous bakers might experiment, for consistent results and that classic tender texture, sticking with all-purpose flour is highly recommended. It provides the perfect balance for the dough to be both pliable enough for rolling and sturdy enough to hold its shape.
*
Granulated Sugar: Beyond sweetness, sugar plays a crucial role in the cookie's texture, contributing to that delicate crispness around the edges and tenderness within.
*
Unsalted Butter (Room Temperature): This is arguably the most critical ingredient. Softened butter creams beautifully with sugar, creating an airy base that leads to a tender, melt-in-your-mouth cookie. Cold butter won't incorporate properly, leading to a lumpy dough, while melted butter will make the dough too soft and greasy. *Tip: To quickly bring butter to room temperature, cut it into small cubes and let it sit for 15-20 minutes, or gently warm it in the microwave for a few seconds (be careful not to melt it!).*
*
Egg Yolk: The egg yolk is a powerhouse for richness and binding. It helps emulsify the dough, adding tenderness and a lovely golden hue without making the cookies too firm, as a whole egg might.
*
Milk: A small amount of milk adds just enough moisture to bring the dough together, making it smooth and easy to handle without being sticky.
*
Pure Vanilla Extract: The soul of the vanilla layer! High-quality vanilla extract provides that warm, inviting aroma and classic sweet flavor that perfectly complements the chocolate.
*
Baking Powder: This leavening agent gives the cookies a subtle lift, ensuring they're light and slightly soft, rather than dense.
*
Unsweetened Cocoa Powder (pre-mixed with 1 tablespoon milk and 1 tablespoon melted butter): This is the magic behind the chocolate half of our swirl. Pre-mixing the cocoa powder into a paste with a little milk and melted butter ensures it's fully hydrated and incorporates smoothly into the dough, preventing a dry, crumbly chocolate layer and allowing for a vibrant, even color.
Step-by-Step Guide to Crafting Your Chocolate Vanilla Pinwheel Cookies
Making
chocolate vanilla pinwheel cookies is a fun and rewarding process. Follow these steps carefully to achieve that perfect, mesmerizing swirl:
-
Prepare the Vanilla Dough Base:
Start in a spacious mixing bowl by creaming your softened butter and granulated sugar together. Beat them on medium speed until the mixture is visibly light in color and fluffy in texture, usually 2-3 minutes. This aeration is key for tender cookies. Next, incorporate the egg yolk, milk, and vanilla extract, mixing until everything is well combined and smooth. Finally, gradually sift in your all-purpose flour and baking powder. Mix on low speed, just until a soft, pliable dough forms. Be careful not to overmix, as this can develop the gluten too much, leading to tough cookies.
-
Divide and Create the Chocolate Layer:
Carefully divide the freshly prepared dough into two equal portions. Leave one portion as is – this will be your beautiful vanilla layer. To the second portion, add the pre-mixed cocoa powder paste (cocoa powder, milk, and melted butter). Knead this mixture gently into the dough until the cocoa is completely and uniformly incorporated, resulting in a rich, consistent chocolate color.
-
Roll Out Your Dough Rectangles:
Lightly flour a clean work surface or, even better, place a sheet of parchment paper down for easier handling. Take the vanilla dough and roll it out into a rectangle, aiming for a thickness of about 1/8 to 1/4 inch. Repeat this process with the chocolate dough, striving to make it roughly the same size and thickness as the vanilla rectangle. Consistency here is key for an even swirl.
-
Layer, Roll, and Chill for the Perfect Swirl:
Gently lift the chocolate dough rectangle and carefully place it directly on top of the vanilla dough rectangle. Press them together lightly with your hands or a rolling pin to ensure they adhere without squishing the dough. Now, starting from one of the longer edges, begin to tightly roll the layered dough into a log shape. Try to roll it as tightly as possible to avoid air pockets, which can disrupt the swirl. Once rolled, wrap the dough log snugly in plastic wrap. Freeze the dough for a minimum of 30 minutes, or even up to an hour, until it is very firm. This chilling step is absolutely crucial for clean, distinct swirls when slicing.
-
Slice and Prepare for Baking:
Preheat your oven to 325°F (160°C). Line a baking sheet with parchment paper – this prevents sticking and makes for easy cleanup. Remove the firm dough log from the freezer and, using a sharp knife, slice it into uniform ¼-inch thick rounds. Arrange these beautiful chocolate vanilla pinwheel cookies on your prepared baking sheet, leaving about an inch of space between each one to allow for slight spreading.
-
Bake to Golden Perfection:
Bake for 15-20 minutes. The exact time can vary depending on your oven, so keep a close eye on them. The cookies are ready when the edges are just beginning to turn a light golden brown, and the centers appear set. They might still feel soft to the touch, but they will firm up as they cool. Allow the cookies to cool on the baking sheet for a few minutes before carefully transferring them to a wire rack to cool completely. This prevents them from breaking and helps them set properly.
Expert Tips for Flawless Chocolate Vanilla Pinwheel Cookies
Achieving that bakery-perfect look and taste for your
easy chocolate vanilla pinwheel cookies is within reach with a few expert insights. Here are some pro tips to elevate your baking:
*
The Importance of Temperature: We've stressed it before, but it bears repeating: *softened butter* is non-negotiable. It ensures a smooth, easy-to-handle dough and contributes significantly to the cookies' tender texture. Equally important is the *chilled dough*. A properly firm dough log, achieved by freezing for at least 30 minutes, is the secret to clean, crisp swirls. If your dough is too soft, it will squish and distort when sliced, blurring your beautiful pinwheel design.
*
Even Rolling for Uniformity: Strive to roll both the vanilla and chocolate dough layers to the same thickness and as close to the same rectangular dimensions as possible. This ensures an even layering, a symmetrical swirl, and, crucially, that all your cookies bake consistently without some being undercooked and others overdone. Using a ruler can be helpful, especially if you're aiming for perfection.
*
Tightly Roll Your Log: When rolling the layered dough into a log, make it as tight as you can without tearing the dough. Loose rolling will create gaps and air pockets within the log, leading to misshapen cookies and a less defined swirl.
*
Don't Overwork the Dough: After combining the wet and dry ingredients, mix the dough just until it comes together. Excessive kneading or mixing develops gluten, which can result in tough, chewy cookies rather than the desired tender texture.
*
Parchment Paper is Your Friend: Rolling your dough between two sheets of parchment paper, and using it to line your baking sheets, simplifies the entire process. It prevents sticking, makes transferring the dough easier, and ensures hassle-free cleanup.
*
Oven Calibration: Every oven is different. Pay attention to your cookies during the baking process. If your oven tends to run hot or cold, you might need to adjust the baking time slightly. The key indicators are slightly golden edges and a set center.
*
Get Creative with Variations: While the classic chocolate and vanilla swirl is beautiful, don't hesitate to experiment! You could add a sprinkle of sea salt on top before baking for a sophisticated flavor contrast, or perhaps roll the log in sprinkles before chilling for a festive touch. A hint of almond extract in the vanilla dough could also add an intriguing twist.
For more in-depth advice and troubleshooting, make sure to check out our comprehensive guide on how to
Bake Flawless Chocolate Vanilla Pinwheel Cookies with Our Tips.
With these tips and our detailed instructions, you're well on your way to baking breathtaking and delicious
chocolate vanilla pinwheel cookies that will impress everyone who tries them. Enjoy the process, and savor the sweet rewards!
These
easy chocolate vanilla pinwheel cookies are more than just a dessert; they're a delightful experience from start to finish. From the satisfying process of creating the distinct swirled dough to the sheer pleasure of biting into a buttery cookie with perfectly balanced chocolate and vanilla flavors, they truly embody the joy of homemade baking. Whether you're a seasoned baker or just starting your culinary journey, this recipe offers a rewarding challenge with deliciously beautiful results. So, gather your ingredients, follow our guide, and prepare to enchant your taste buds and your guests with these charming, bakery-worthy pinwheel cookies!